This article is part of a series where we will learn how to install Elasticsearch using different infrastructures.

ECK requires significantly more effort than the Marketplace-based Elastic Cloud solutions, but it's more automated than deploying VMs by yourself, because the Kubernetes operator will take care of the system orchestration and node scaling.
This time, we are going to work with the Azure Kubernetes Service (AKS), using Automatic. In the other articles, you’ll learn how to use Azure VM and Azure Marketplace.
What is AKS Automatic?
Azure Kubernetes Service (AKS) automatically manages cluster setup, dynamically allocates resources, and integrates security best practices while preserving Kubernetes flexibility, allowing developers to go from container image to deployed application within minutes.
AKS Automatic removes most of the cluster management overhead and strikes a good balance between simplicity and flexibility. The right choice depends on your use case, but the decision is easier if you plan to:
- Deploy a testing environment: Deployment is fast and straightforward, making it ideal for quick experiments or short-lived clusters.
- Work without strict VM, storage, or networking requirements: AKS Automatic provides predefined defaults, so if those fit your needs, it saves you from extra configuration.
- Start with Kubernetes for the first time: By handling much of the cluster setup, AKS Automatic lowers the learning curve and lets teams focus on their applications.

For Elasticsearch, we are going to use Elastic Cloud on Kubernetes (ECK), which is the official Elastic Kubernetes operator that simplifies the Kubernetes deployments orchestration of the Elastic Stack.
How to set up AKS Automatic
1. Log in to the Microsoft Azure Portal.
2. In the top right, click on the Cloud Shell button to access the console and deploy the AKS cluster from there. Alternatively, you can use the Azure Cloud Shell.
Remember to update the project ID with yours during the tutorial.

Opening the AKS should look like the screenshot above.
3. Install the aks-preview Azure CLI extension. This preview version will allow us to select --sku automatic on cluster creation, which enables the AKS Automatic feature.
az extension add --name aks-preview
If you see this message, it means that the AKS extension was installed properly.
4. Register feature flags using the az feature register command
az feature register --namespace Microsoft.ContainerService --name AutomaticSKUPreviewYou will see the details about the feature subscription we just created:
Verify the registration status until it changes from “Registering” to “Registered.” It can take a few minutes to finish registration.
az feature show --namespace Microsoft.ContainerService --name AutomaticSKUPreview
Run az provider register to propagate changes.
az provider register --namespace Microsoft.ContainerService5. Create a resource group
A resource group is a logical group of Azure resources to be managed and deployed.
az group create --name elastic-resource --location eastus
6. Create an Autopilot cluster. We will name it myAKSAutomaticCluster and use the resource group we just created. Make sure you have 16 vCPUs available on any of the following VM sizes: Standard_D4pds_v5, Standard_D4lds_v5, Standard_D4ads_v5, Standard_D4ds_v5, Standard_D4d_v5, Standard_D4d_v4, Standard_DS3_v2, Standard_DS12_v2 for AKS to allocate resources.
az aks create \
    --resource-group elastic-resource \
    --name myAKSAutomaticCluster \
    --sku automatic \
    --generate-ssh-keys
* If you get MissingSubscriptionRegistration errors, go back to step 4 with the missing subscriptions. For example, The subscription is not registered to use namespace 'microsoft.insights' requires running az provider register --namespace Microsoft.Insights.
Follow the interactive login:
A message asking to run “az login” will show up. You have to run that command and then wait.

7. Wait until it is ready. It takes around 10 minutes to create.

8. Configure kubectl command line access.
az aks get-credentials --resource-group elastic-resource --name myAKSAutomaticCluster
Note that the extension we installed is enabling AKS Automatic.
9. Confirm that the nodes got deployed.
kubectl get nodesYou will see a forbidden error message; copy the user ID from the error.

10. Add your user to AKS Access control.
Get AKS ID. Copy output from the command.
az aks show --resource-group elastic-resource --name myAKSAutomaticCluster --query id --output tsv
Create a role assignment using the AKS ID and your user's principal ID.
az role assignment create --role "Azure Kubernetes Service RBAC Cluster Admin" --assignee <PRINCIPAL_ID> --scope <AKS_ID>11. Try confirming nodes got deployed again.
kubectl get nodes
12. Install the Elastic Cloud on the Kubernetes (ECK) operator.
# Install ECK Custom Resource Definitions
kubectl create -f https://download.elastic.co/downloads/eck/2.16.1/crds.yaml

# Install the ECK operator
kubectl apply -f https://download.elastic.co/downloads/eck/2.16.1/operator.yaml
13. Let’s create a single-node Elasticsearch instance with the default values.
cat <<EOF | kubectl apply -f -
apiVersion: elasticsearch.k8s.elastic.co/v1
kind: Elasticsearch
metadata:
  name: quickstart
spec:
  version: 9.0.0
  nodeSets:
  - name: default
    count: 1
    config:
      node.store.allow_mmap: false
EOF
We disabled nmap because the default AKS machine has a too low vm.max_map_count value. Disabling it is not recommended for production, but increasing the value of vm.max_map_count. You can read more about how to do this here.
14. Let’s also deploy a Kibana single-node cluster. For Kibana, we will add a load balancer, which will give us an external IP we can use to reach Kibana from our device.
cat <<EOF | kubectl apply -f -
apiVersion: kibana.k8s.elastic.co/v1
kind: Kibana
metadata:
  name: quickstart
spec:
  version: 9.0.0
  http:
    service:
      spec:
        type: LoadBalancer
  count: 1
  elasticsearchRef:
    name: quickstart
EOF
By default, AKS Automatic will configure the load balancer as public; you can change the behavior by setting the metadata annotation:
service.beta.kubernetes.io/azure-load-balancer-internal: "true"
15. Check that your pods are running.
kubectl get pods
16. You can also run kubectl get elasticsearch and kubectl get kibana for more specific stats like Elasticsearch version, nodes, and health.


17. Access your services.
kubectl get svc
This will show you the external URL for Kibana under EXTERNAL-IP. It might take a few minutes for the load balancer to provision. Copy the value of EXTERNAL-IP.
18. Get the Elasticsearch password for the ‘elastic’ user:
kubectl get secret quickstart-es-elastic-user -o=jsonpath='{.data.elastic}' | base64 --decode
19. Access Kibana through your browser:
a. URL: https://<EXTERNAL_IP>:5601
b. Username:elastic
c. Password:c44A295CaEt44D6xIzN6Zs5m (from previous step)
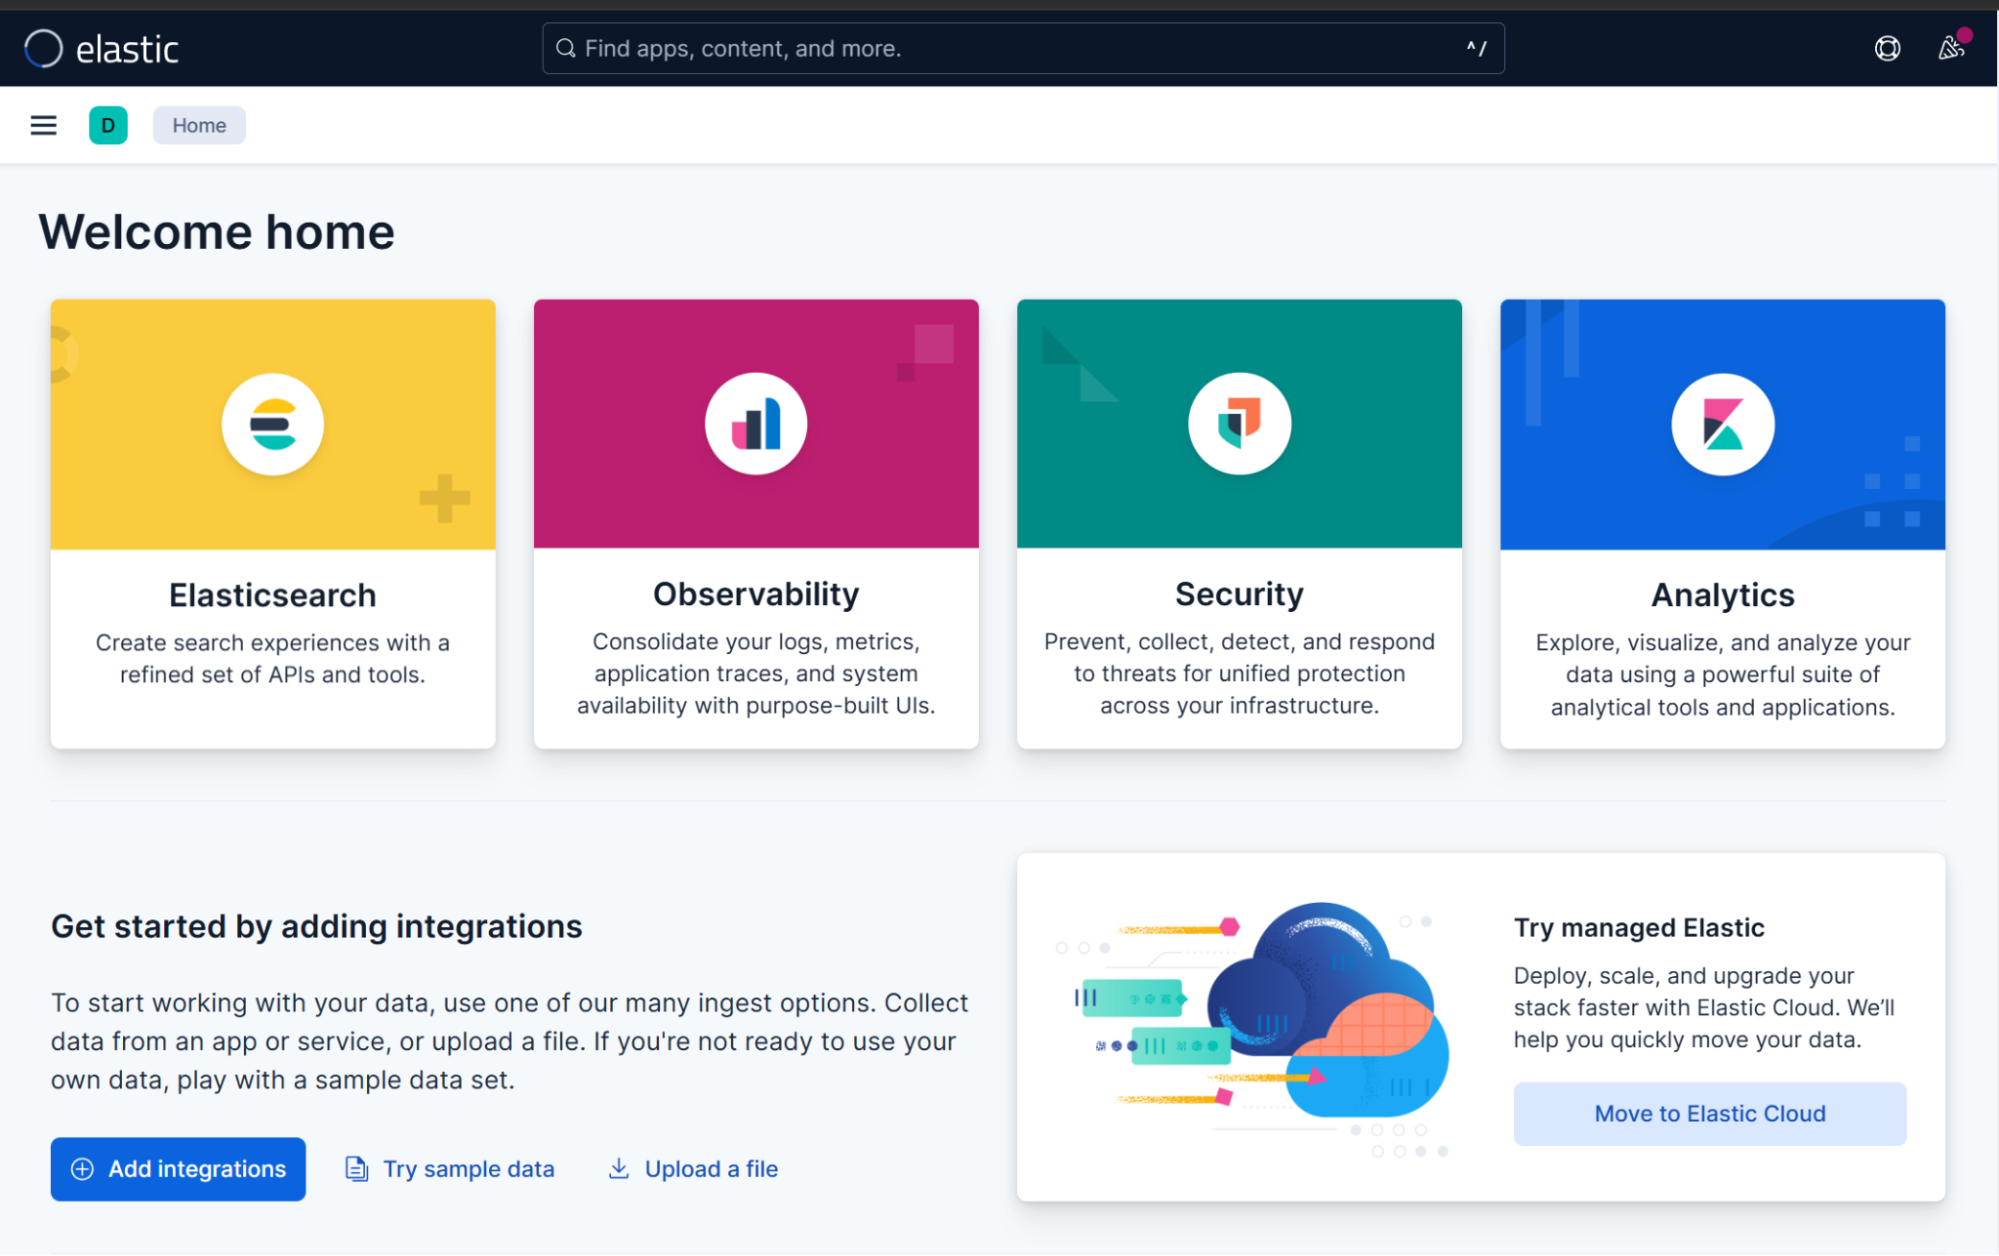
20. When accessing Elastic Cloud from your browser, you will see the welcome screen.
If you want to change the Elasticsearch cluster specifications, like changing or resizing nodes, you can apply the YML manifest again with the new settings:
cat <<EOF | kubectl apply -f -
apiVersion: elasticsearch.k8s.elastic.co/v1
kind: Elasticsearch
metadata:
  name: quickstart
spec:
  version: 9.0.0
  nodeSets:
    - name: default
      count: 2
      config:
        node.store.allow_mmap: false
      podTemplate:
        spec:
          containers:
            - name: elasticsearch
              resources:
                requests:
                  memory: 1.5Gi
                  cpu: 2
                limits:
                  memory: 1.5Gi
                  cpu: 2
EOF
In this example, we are going to add one more node and modify RAM and CPU. As you can see, now kubectl get elasticsearch shows 2 nodes:

The same applies to Kibana:
cat <<EOF | kubectl apply -f -
apiVersion: kibana.k8s.elastic.co/v1
kind: Kibana
metadata:
  name: quickstart
spec:
  version: 9.0.0
  http:
    service:
      spec:
        type: LoadBalancer
  count: 1
  elasticsearchRef:
    name: quickstart
  podTemplate:
    spec:
      containers:
        - name: kibana
          env:
            - name: NODE_OPTIONS
              value: "--max-old-space-size=1024"
          resources:
            requests:
              memory: 0.5Gi
              cpu: 0.5
            limits:
              memory: 1Gi
              cpu: 1
EOF
We can adjust the container CPU/RAM and also the Node.js memory usage (max-old-space-size)
Keep in mind that existing volume claims cannot be downsized. After applying the update, the operator will make the changes with minimal disruption time.
Remember to delete the cluster when you're done testing to avoid unnecessary costs.
az aks delete --name myAKSAutomaticCluster --resource-group elastic-resourceConclusion
Using Azure AKS Automatic with ECK provides a balanced solution for deploying Elasticsearch and Kibana: it reduces operational complexity, ensures automated scaling and updates, and leverages Kubernetes’ flexibility. This approach is ideal for teams that want a reliable, repeatable, and maintainable deployment process without managing every infrastructure detail manually, making it a practical choice for both testing and production environments.
Next steps
If you want to read more about Kubernetes, you can check out the official documentation here:
- Elastic Cloud on Kubernetes | Elastic Docs
- Introduction to Azure Kubernetes Service (AKS) Automatic (preview)
- AKS Automatic - AKS Engineering Blog
Ready to try this out on your own? Start a free trial.
Want to get Elastic certified? Find out when the next Elasticsearch Engineer training is running!
Related content

May 12, 2026
Elasticsearch query logs: One coordinator-level line per query for ES|QL, DSL, SQL, and EQL
Easily understand query impact on cluster performance with Elasticsearch query logs. One coordinator-level line records ES|QL, DSL, SQL, and EQL per request and provides full query text, tracing, optional user context, and CCS hints

April 6, 2026
How to compare two Elasticsearch indices and find missing documents
Exploring approaches for comparing two Elasticsearch indices and finding missing documents.

Testing Elasticsearch. It just got simpler.
Explaining how Elasticsearch integration tests have become simpler thanks to improvements in Elasticsearch 9.x, the modern Java client, and Testcontainers 2.x.

December 19, 2025
Elasticsearch Serverless pricing demystified: VCUs and ECUs explained
Learn how Elasticsearch Serverless pricing works for Elastic’s fully-managed deployment offering. We explain VCUs (Search, Ingest, ML) and ECUs, detailing how consumption is based on actual allocated resources, workload complexity, and Search Power.
December 8, 2025
How excessive replica counts can degrade performance, and what to do about it
Learn about the impact of high replica counts in Elasticsearch, and how to ensure cluster stability by right-sizing your replicas.